
A side by side baking experiment
Even the most classic recipes can have variations in the method they are made. For this side-by-side experiment, I have tested two methods of making a classic Génoise to discover if one method triumphs over the other in terms of achieving the best rise and superior aeration.
What is a Génoise cake?
If you're unfamiliar with a genoise cake, it is a beautifully light sponge which gets its name from the Italian city, Genoa. It boasts a light, airy texture owing to its simple yet precise composition of eggs, sugar, plain flour, and a touch of melted butter.
Unlike other sponges such as those made by the creaming method including the classic Victoria Sandwich , genoise relies solely on the air whipped into the eggs for its lift, The result? A ultra light sponge which can be used in many pattiserie bakes. The addition of a little butter brings a slightly longer 'shelf life' as well as making it a moister and tastier bake.
The sponge can easily be flavoured, with lemon, orange or chocolate, and the cake filled and decorated. My Rhubarb and custard genoise cake for instance is a genoise, flavoured with orange zest then filled with rhubarb and custard.
As Génoise cakes have a very light and soft texture, they work best with light, moist fillings such as Crème Pâtissière, fruit compote, fruit curds or fresh cream. It is also a good cake to soak with flavoured syrups for extra moisture.
Génoise make great triffle sponges.
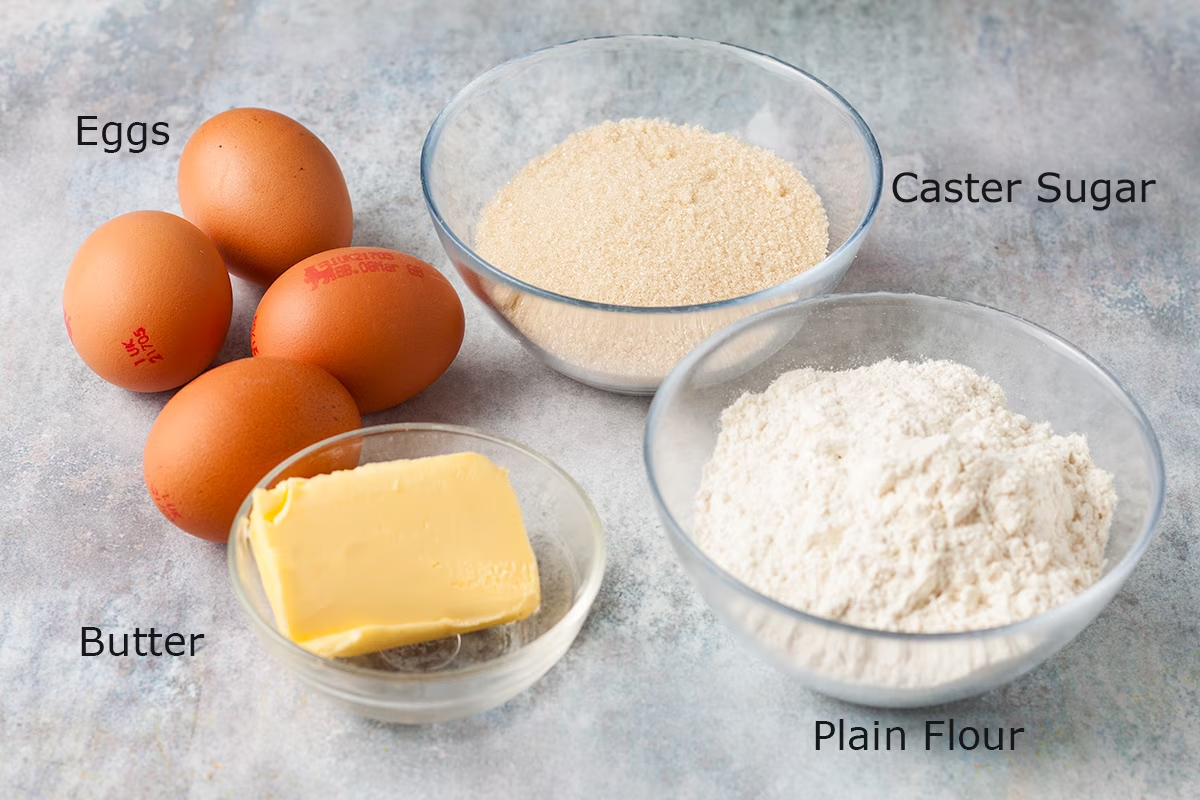
Ingredients
Genoise cakes are made from eggs, caster sugar, plain flour and butter with no added raising agent.
How are Génoise Cakes made?
There's no denying it, a genoise cake demands a lightness of touch, especially when folding in the flour and butter and as a result some home bakers avoid making them. But, please don't let that put you off making one, they're really not that difficult.
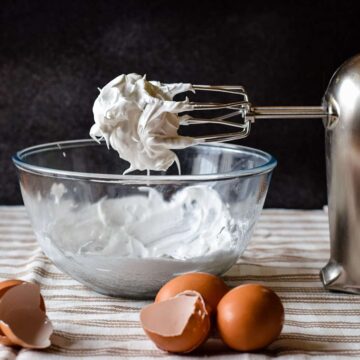
The eggs and sugar are beaten together for a number of minutes to produce a thick light foam and the mixture reaches the 'ribbon stage'.
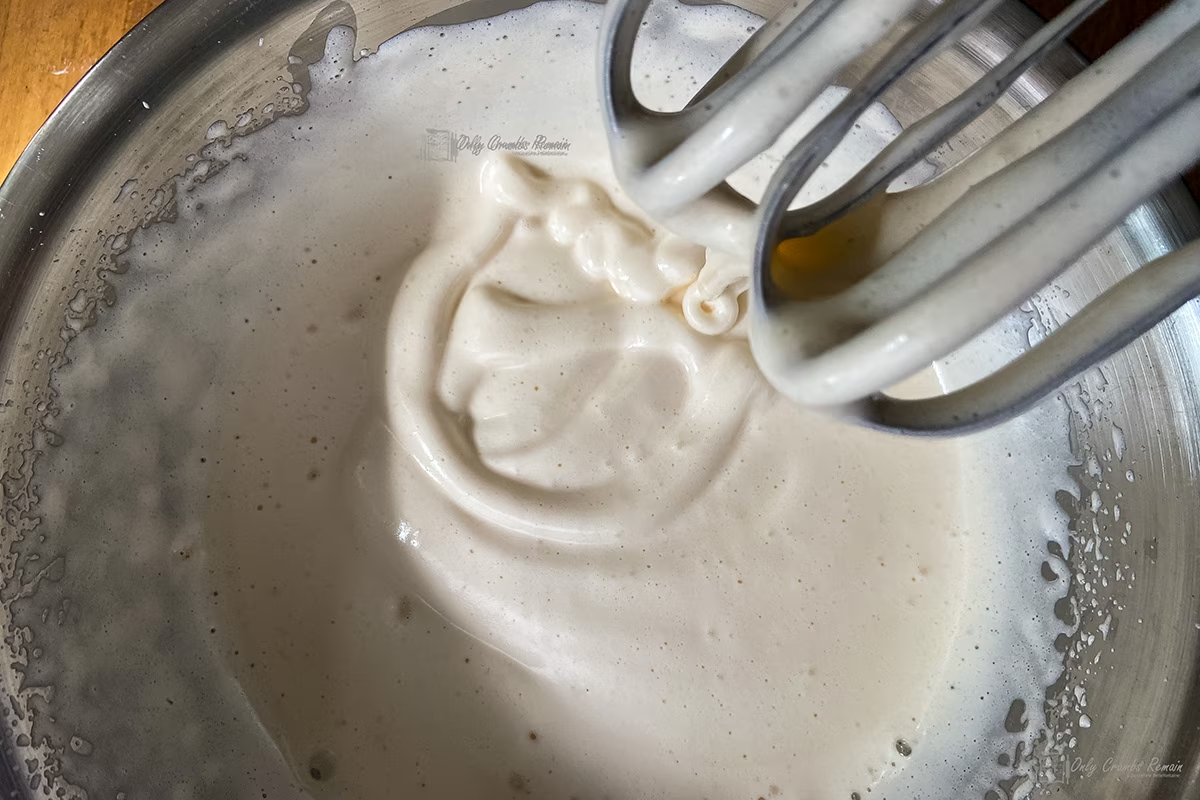
This simply means that the mixture is thick enough for the beaters to leave a trail (or ribbon) of the batter on top of the mixture. The baker should be able to write the figure '8' or a couple of initials with the ribbon before it sinks back into the mixture.
Once this stage is attained, sifted flour is carefully added to the foam.
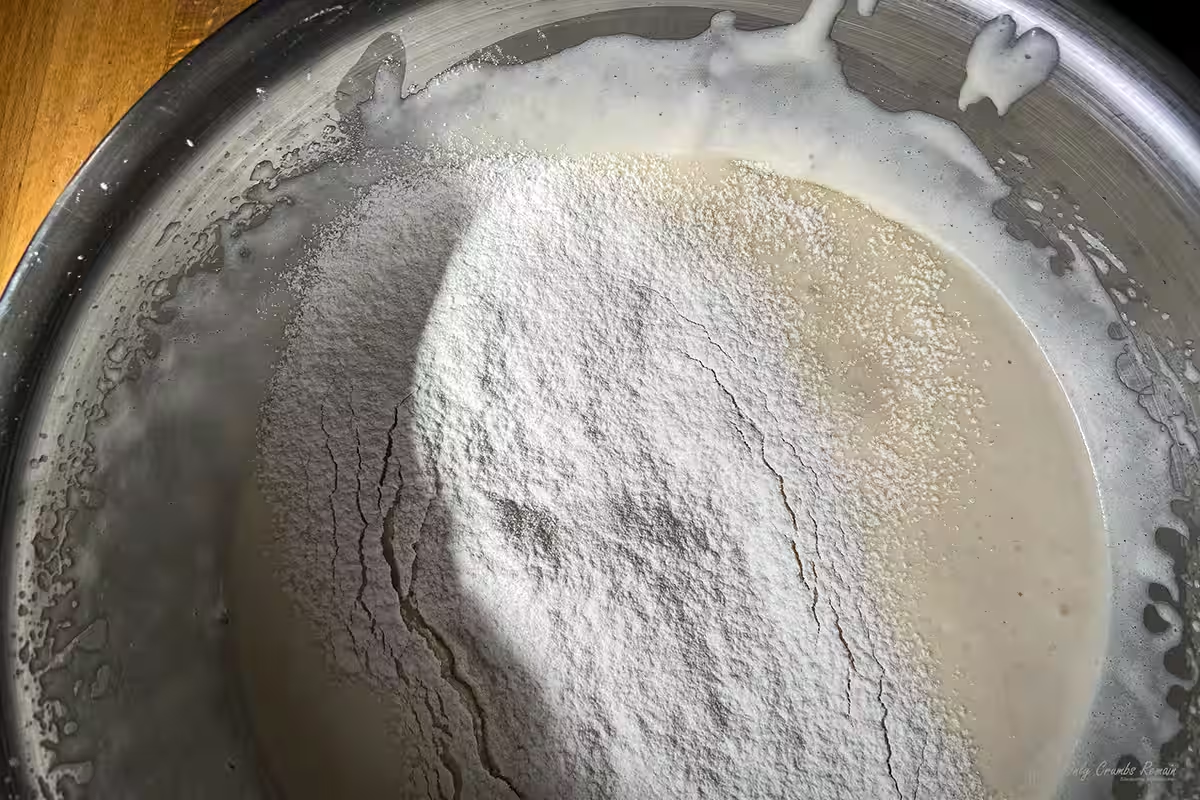
This is where the lightness of hand is required. The flour needs to be very gently combined with the egg and sugar foam, taking care not to knock out all the air you have incorporated into the batter.
Cook's Tip
Use a cutting and lifting motion in a figure of eight using a spatula or metal spoon to fold in the flour.
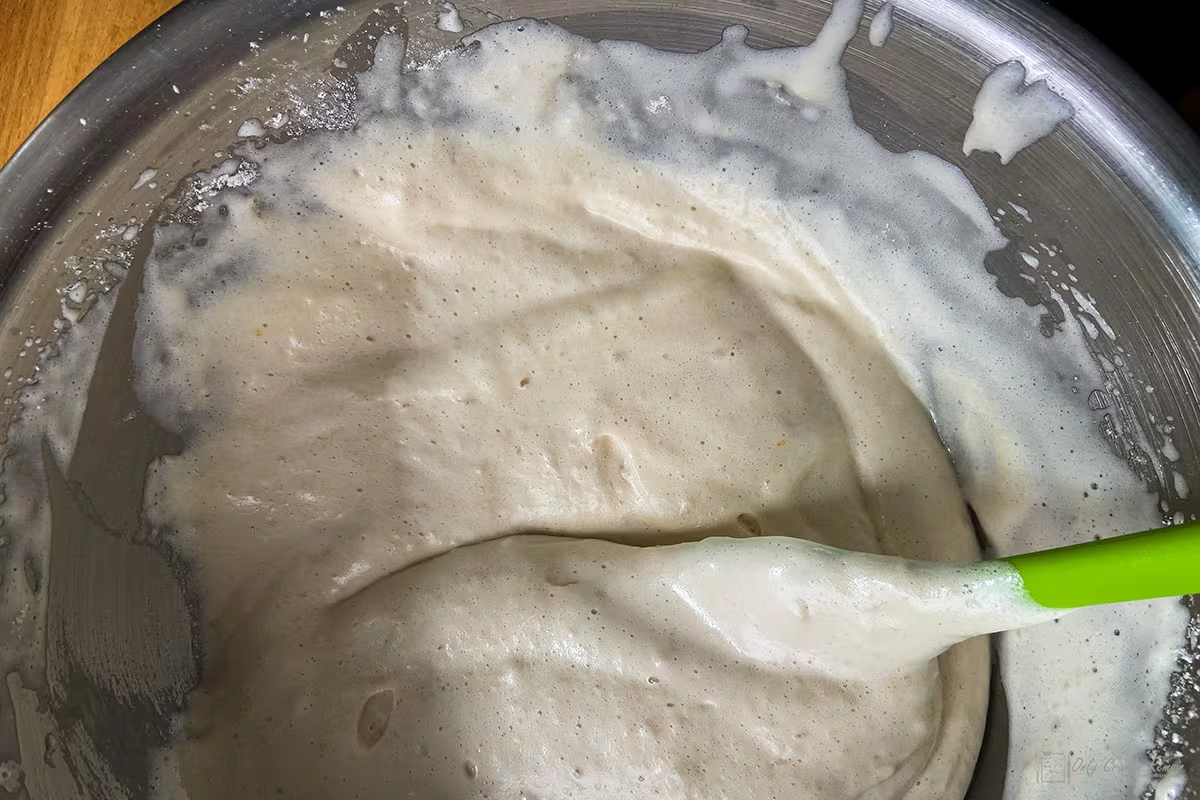
Once the flour is mixed in the melted butter is gently drizzled over the surface or poured down the side of the bowl and then mixed in the same folding action.

Once the batter has been folded in you should still have a very light and airy mixture.
Pour in the prepared cake tin. Tilt the tin to spread the batter and allow it to find its own level. Bake until golden, risen and springy to the touch.
Cook's Tip
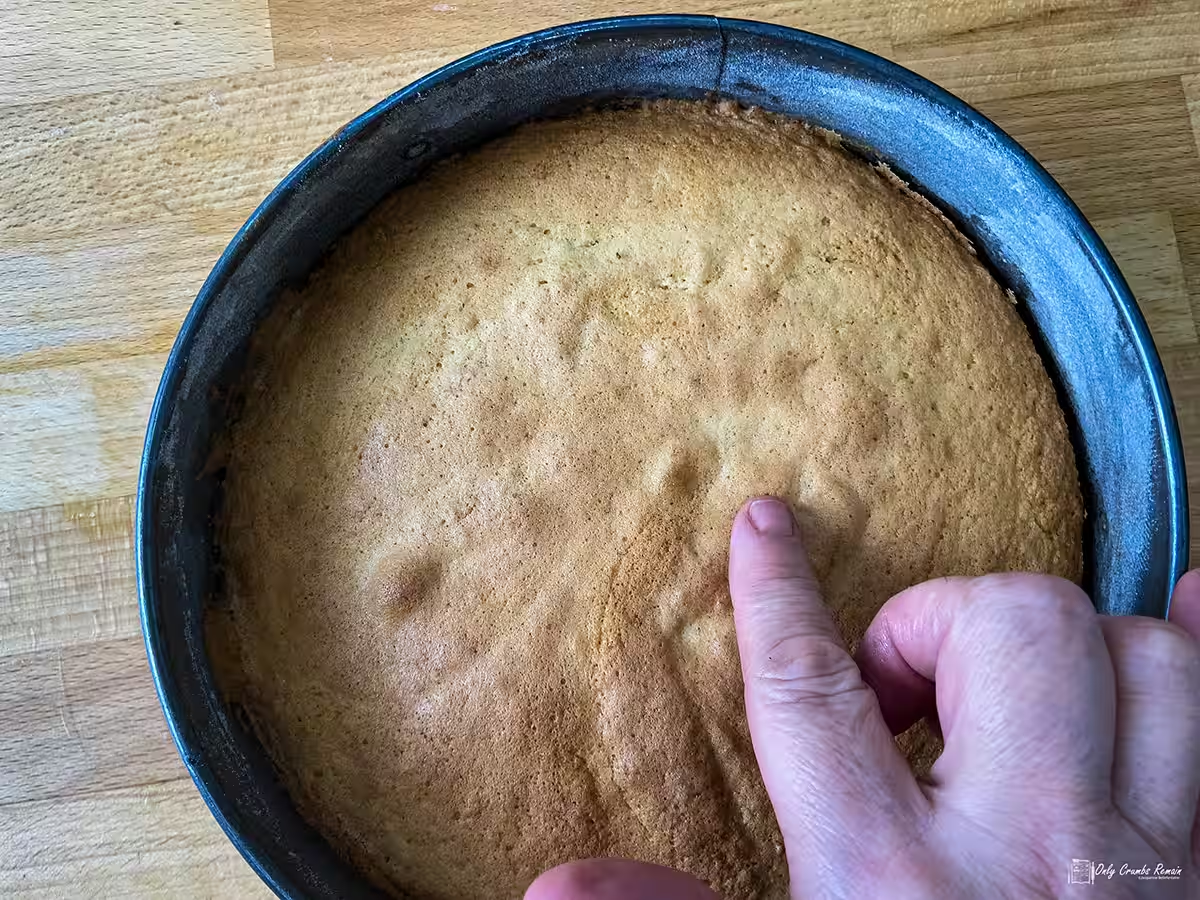
The cake is cooked when the sponge springs back when lightly pressed with the finger tip. If it leaves an impression the sponge is not fully cooked.
The Two Methods of whisking: Bain Marie vs. no heat
If you research different recipes for Genoise the quantities of ingredients for the genoise sponge cake vary little as it is essential that the correct ratio is used in order for success.
However there seems to be two different methods used for beating the eggs with the sugar. Some recipes describe beating the two ingredients in a bowl suspended over a bain marie, whereas others make no mention of the gentle application of heat during the process, simply whisking the eggs and sugar together in the bowl of a stand mixer or with hand held electric beaters.
Side-by-Side Baking - Making a Génoise Cake
So, the purpose of this Side-by-Side Baking comparison is to look at two batches of genoise cake; one prepared over a bain marie and the second without the assistance of heat.
The aim is to identify if there is a better method for making a genoise, if the difference between the two bakes is worth any extra effort and if there is any difference in the time required to achieve the ribbon stage.
The Two Cakes
- Cake One: The eggs and sugar were beaten with hand held beaters. The bowl was on the worksurface and no heat applied
- Cake Two: The eggs and sugar were beaten over the gentle heat by placing the bowl over a pan of gently simmering water.
How I went about the Side-by-Side baking comparison.
As with all of my side-by-side bakes, the aim to go about the bake methodically, aiming to keep each batch identical in terms of how the batter was created, the ingredient weights, and how it was then baked. So with in the confines of the home kitchen the only differences to the bakes should be those outlined in the two batches above. So each batch:
- Each cake was made with the same quality of ingredients
- Made using the same weight of ingredients, measured using electronic scale. (the cracked eggs of batch 1 were weighed and this value was matched in the second bake).
- The eggs and sugar were beaten until they reached 'ribbon stage' and the time to achieve this was noted.
- They were beaten with the same pair of hand held electric beaters, The beaters initially set to the lowest speed for 30 seconds whilst the sugar and eggs combined before increasing the speed to '3' for the remaining duration of the beating.
- The flour was sieved and folded in gently.
- The melted butter poured gently down the side of the bowl before being folded in.
- Each cake was baked in identical 21cm (8in) spring form cake tins.
- The cake tin was prepared in the same way for both bakes.
- The prepared batters poured gently from a low height into the cake tin.
- Each cake was baked in the same part of the oven, for the same period of time.
- The cakes were cooled in the same way.
The Results
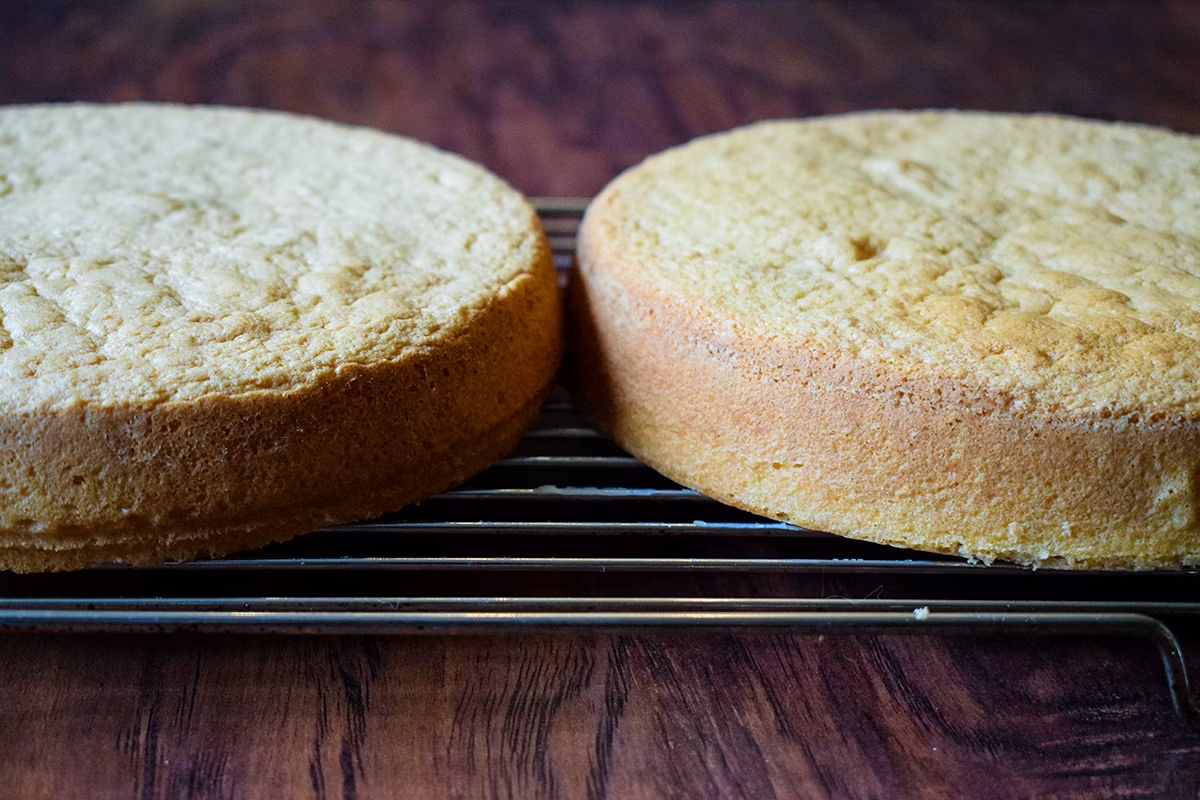
Upon initial observation, it appeared that the bain marie-assisted batch exhibited a superior rise compared to its counterpart when it was first removed from the oven.
However, I was comparing a sponge cake which was fresh from the oven against a cake which had been cooling for about 40 minutes. It's worth noting that this type of cake does deflate very slightly during the cooling process
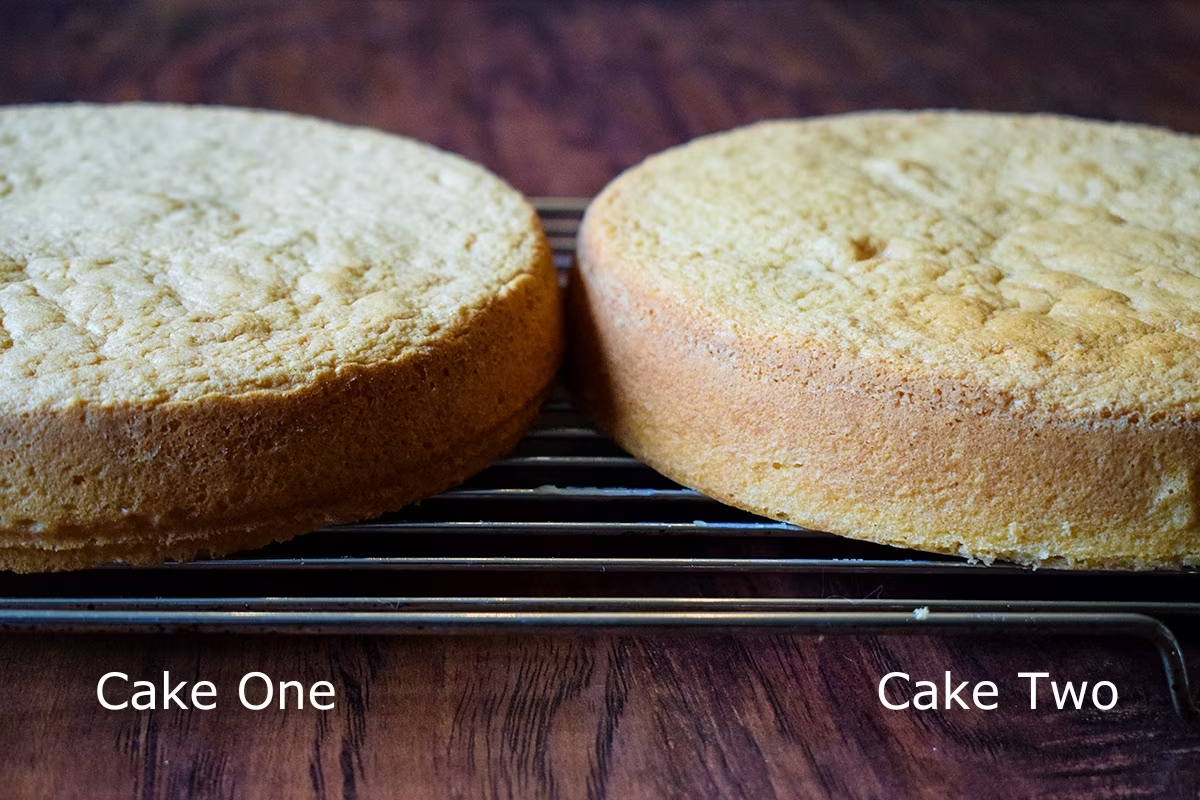
Once both cakes had cooled completely they, revealed subtle nuances. While the difference in height was minimal, the cake whisked over hot water was slightly higher. On closer inspection you can also see a slightly more pronounced deflation in the non-heated batch, evidenced by its crinkled appearance and slight dip in the cake. Whereas the second genoise looked 'fuller', smoother, and slightly rounded.
Both of these points I think you can pick up from the image above.
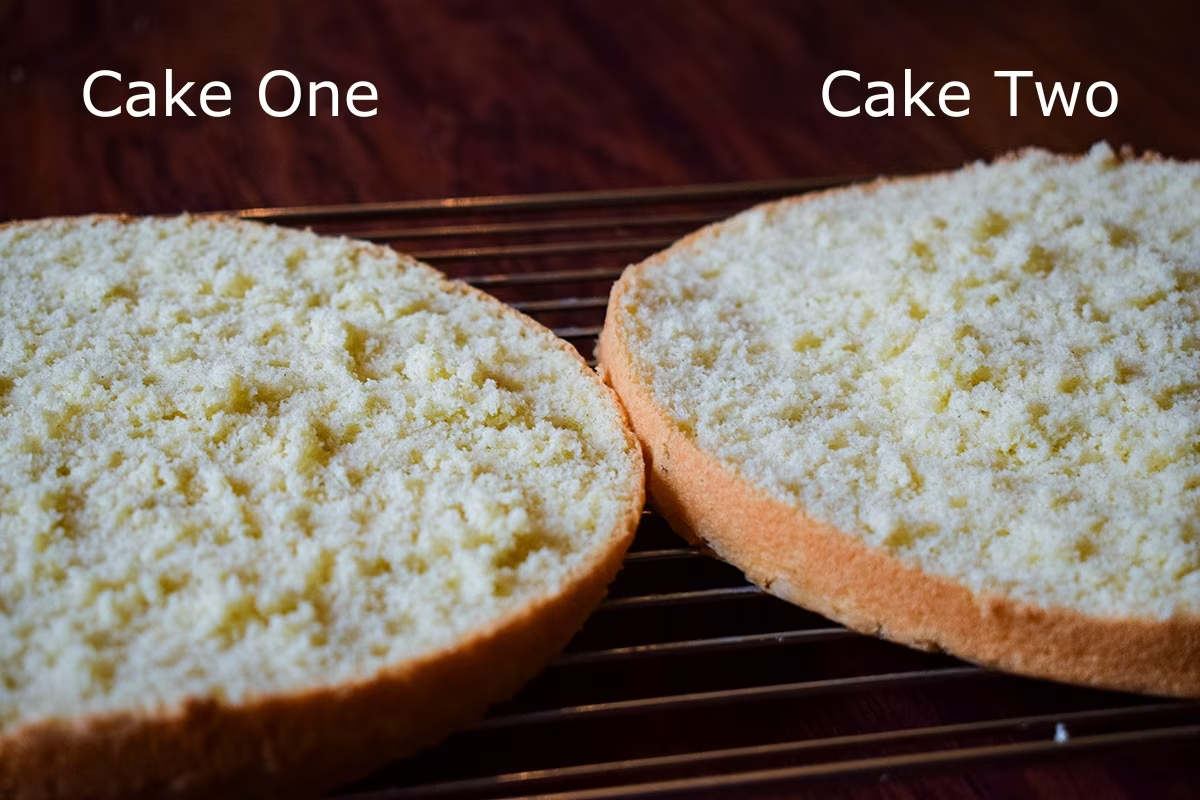
Surprisingly, the crumb structure remained pretty consistent between the two once they had been sliced open.
The Time Factor
Beyond visual difference, and slight improvement to the rise, it was the preparation time proved to be a defining factor in our comparison. The Bain Marie method, despite seeming to add a layer of complexity to the method, actually proved to be more efficient, requiring a shorter duration to achieve the ribbon stage.
The first batch made on the work surface without the use of heat took a total of nine and a half minutes to reach ribbon stage. Where as the second batch, prepared over the bain marie, took a couple of minutes less time, requiring just seven minutes of beating.
Deciphering the Science
The result of the two batches raises the question as to why the use of a bain marie helps to produce a better genoise bake.
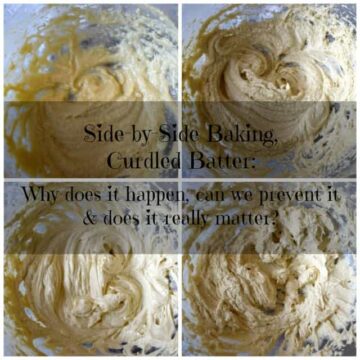
In many ways the answer is similar to the curdled cake batters comparison.
James Morton, in his book How Baking Works, explains the gentle heat facilitates the unfurling of egg proteins, thickening the eggs which inturen allows the mixture to hold thousands of tiny air bubbles which subsequently expend when bake producing the rise.
He goes onto say 'this is why you shouldn't use eggs straight from the fridge because cold hampers their expanding properties. You want them to be warm enough to maximise volume without cooking the eggs.'
The Verdict
While both methods yield good genoise cakes, our comparison unveils the subtle advantages of the Bain Marie approach. Beyond mere aesthetics, this method offers efficiency and stability, making it a worthy contender for home bakers seeking perfection in every bake.
However, it is worth noting the practicalities of whisking over a heat source can throw up some challenges.
Top Tips for the Perfect Génoise Cake
- Line the tin with baking parchment and dust the sides of the tin with flour and or caster sugar.
- Make sure the base of the bowl does not touch the hot water.
- Whisk the egg until very light and the mixture has increased in volume by about 4 times and will leave a trail when the beaters are lifted.
- Whisking again after removing from the bain marine will ensure the egg and sugar mixture cool. If it is too hot it will start to cook the flour as soon as it is added resulting in a heavy cake.
- Sift the flour at least twice before sifting it into the bowl. This helps add additional air.
- When pouring the mixture into the tin, allow it to find its own level. Tilt the tin if necessary, but do not spread it out as this risks knocking the air out of the mixture.
- Place in the oven quickly and do not be tempted to open the oven door for at least 25 minutes. Opening too early will cause the cake to collapse.
Cook's Notes
The process of beating the eggs and sugar over a bain marie with electric beaters requires a certain amount of care. The electric beaters need to comfortably reach the work area without being over stretched, a task which may require an extension lead depending upon the location of the socket points!.
The baker needs to keep the bain marie steady whilst beating so as not to knock the pan of hot water over.
So, while it may be preferable to whisk the eggs and sugar over a pan of hot water, in some circumstances, it may not be suitable. However, there are some alternative ways to achieve good results.
- James Morton, again in his book 'How Baking Works', suggests warming the lightly mixed eggs and sugar over a bain marie until they are warm to the touch and then transfering the bowl from the bain marie to a stand mixer for beating. This of course removes the risk of potentially knocking over the bain marie pan whilst beating, though it also means the eggs will begin to cool slightly.
- Consider heating the eggs as James Morton suggests above, but move the bain marie and bowl set up to the work area near a plug socket and beat with hand held beaters. Although there is still a risk of the pan being knocked over, it does remove the problem of over stretching the beater's cord and it maintains the temperature of the eggs with the residual heat from the pan.

Classic Génoise Cake
Equipment
- 21cm (8in) Spring Form or deep loose bottomed cake tin.
- baking parchment
- heatproof bowl
- saucepan
- Electric hand whisk
Ingredients
- 4 large eggs
- 125 g (4oz) caster sugar
- 125 g (4oz) plain flour + 1 teaspoon for preparing the cake tin
- 40 g (1½oz) melted butter + extra butter (not melted) for preparing the cake tin.
Instructions
- Prepare the cake tin. Thoroughly grease the bottom and sides of the cake tin with a little butter. Line the base with baking parchment. Place a teaspoonful of plain flour into the cake tin. Rotate the tin to encourage the flour to stick to the buttered sides of the cake tin. Ensure all of the sides are floured. Tap out any excess flour.
- Preheat the oven to 180℃ (160℃ fan)/350°F/gas mark 4.
- Place 125g (4oz) caster sugar and 4 eggs in a large heatproof bowl and place over a pan of gently simmering water. Whisk the eggs and sugar together until very thick. The whisk will leave a trail when lifted from the mixture. Remove from the pan and continue whisking for a few more minutes.
- Sift 125g (4oz) plain flour over the mixture and gently fold in with a spatula or large metal spoon along with the grated zest of 1 orange until just combined. Drizzle 40g (1½oz) melted butter over the surface and fold in. Pour into the cake tin and bake in the centre of the oven for 20 -25 minutes until golden and springy to the touch.
- Remove the cake from the oven and set onto a cooling rack. Once the tin is cool enough to handle release the sides of the tin from the cake and transfer the cake to a wire rack to cool completely.
- Use as required
Notes
- Line the tin with baking parchment and dust the sides of the tin with flour and or caster sugar.
- Make sure the base of the bowl does not touch the hot water.
- Whisk the egg until very light and the mixture has increased in volume by about 4 times and will leave a trail when the beaters are lifted.
- Whisking again after removing from the bain marine will ensure the egg and sugar mixture cool. If it is too hot it will start to cook the flour as soon as it is added resulting in a heavy cake.
- Sift the flour at least twice before sifting it into the bowl. This helps add additional air.
- When pouring the mixture into the tin, allow it to find its own level. Tilt the tin if necessary, but do not spread it out as this risks knocking the air out of the mixture.
- Place in the oven quickly and do not be tempted to open the oven door for at least 25 minutes. Opening too early will cause the cake to collapse.
- The cake will keep for a few days if stored in an airtight container in a cool place
- Feeze for up to 1 month
About my Side-by-Side Baking Series.
The Side-by-Side Baking series is a series of experiments in which I compare the effects certain techniques and food products have on given bakes with a view to appreciating why we carry them out.
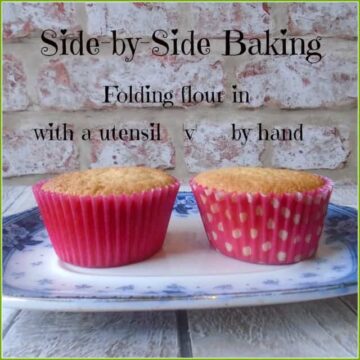
So for instance, I have looked at the effects of using room temperature eggs compared to eggs from the fridge in my side by side post on curdled cake batters, folding in flour by hand against that folded in with a spatula, butter quality in cake batters and the all-in-one method against the traditional creaming-in-method. I've also looked at resting Yorkshire Pudding batters before baking. These series of bakes are designed to focus on one aspect of baking (or even ingredient) to see if we can make our bakes even better, as well as when shortcuts can be taken and still achieve a good result.
Therefore, in this series, there will always be at least two separate batches baked in these comparisons to allow me, and you as the reader, to literally compare them Side-by-Side.

Rate and leave a comment - I love to get your feed back and will reply as soon as I can. Comments may be held for moderation before publishing.